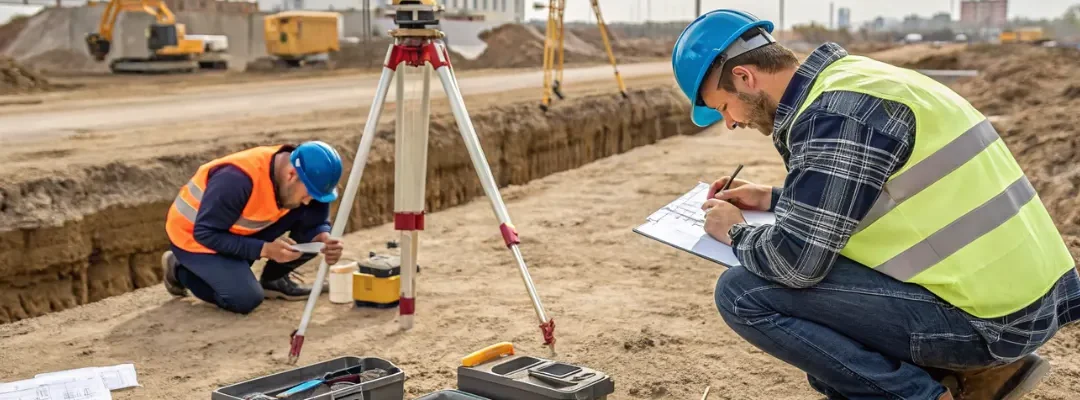
Why Soil Testing is the First Step of Any Construction Project
Before the first brick is laid, a critical step determines whether your building will stand strong for decades—soil testing. Often overlooked or rushed, soil tests reveal the strength, composition, moisture, and stability of the ground beneath your structure.
Without proper soil testing, your building could suffer from cracks, sinking, or even collapse. This guide covers the types of soil tests, testing methods, and why they’re essential for safe, durable construction.
What is Soil Testing for Construction?
Soil testing is the process of evaluating soil properties at a construction site to assess whether the ground is suitable to support the proposed structure.
The results guide architects and structural engineers in:
- Choosing the right foundation type (shallow or deep)
- Estimating load-bearing capacity
- Identifying potential risks like settlement, expansion, or liquefaction
Why Soil Testing Is Important in Building Construction
| Benefit | Impact |
|---|---|
| Ensures Structural Stability | Prevents settlement, tilting, or collapse |
| Informs Foundation Design | Selects appropriate foundation depth and type |
| Saves Long-Term Cost | Avoids unexpected repairs or reconstruction |
| Identifies Soil Hazards | Detects expansive clay, organic matter, or high groundwater |
| Required by Law | Mandated for approvals by many municipal and planning authorities |
Key Soil Tests for Construction Projects
1. Moisture Content Test
- Purpose: Measures the amount of water in the soil
- Impact: High moisture can lead to shrink-swell problems and reduced load capacity
2. Atterberg Limits Test
- Purpose: Determines the plastic and liquid limits of soil
- Impact: Helps classify fine-grained soils and predict behavior under load
3. Specific Gravity Test
- Purpose: Measures the ratio of soil solids to water
- Impact: Helps in soil classification and compaction analysis
4. Dry Density Test
- Purpose: Determines soil compaction level
- Impact: Affects the strength and stiffness of the soil under loading
5. Proctor Compaction Test
- Purpose: Establishes optimal moisture content for maximum compaction
- Impact: Guides site preparation and compaction quality
6. Shear Strength Test
- Purpose: Measures the soil’s resistance to shear stress
- Impact: Critical for slope stability and foundation safety
7. Standard Penetration Test (SPT)
- Purpose: Measures soil resistance to a standard driving force
- Impact: Provides field data on bearing capacity and stratification
8. Plate Load Test
- Purpose: Evaluates the bearing capacity of soil in the field
- Impact: Used to determine allowable load and settlement
9. California Bearing Ratio (CBR) Test
- Purpose: Measures the strength of subgrade for road construction
- Impact: Influences pavement thickness design
Soil Sampling Methods
| Method | Application |
|---|---|
| Boring | Deep soil investigation using drilling rigs |
| Test Pits | Shallow sampling for small projects |
| Auger Sampling | For cohesive soils and quick investigations |
| Core Sampling | Extracts undisturbed samples for lab testing |
Typical Soil Testing Process
- Site visit by geotechnical engineer
- Drilling/boreholes at different locations
- Soil sample collection and labeling
- Lab analysis of physical and chemical properties
- Geotechnical report submission with foundation recommendations
How Much Does Soil Testing Cost in India?
| Project Type | Approximate Cost |
|---|---|
| Residential plot (2 boreholes) | ₹8,000 – ₹15,000 |
| Commercial (4–5 boreholes) | ₹20,000 – ₹50,000+ |
| Additional lab tests | ₹500 – ₹2,000/test |
Always hire a licensed geotechnical testing lab or structural consultant.
FAQs on Soil Testing
Q: Is soil testing mandatory?
A: Yes, for most urban and large-scale construction, it is required by building codes and approval authorities.
Q: When should soil testing be done?
A: Before finalizing the foundation design and definitely before excavation begins.
Q: How deep should soil testing go?
A: Typically 3 to 10 meters, depending on the type and height of the proposed structure.