Constructing a storage tank is a highly technical process that involves precise planning, regulatory compliance, and meticulous execution. This guide outlines the critical phases of storage tank construction—from laying the foundation to conducting final quality checks.
Site Preparation and Planning
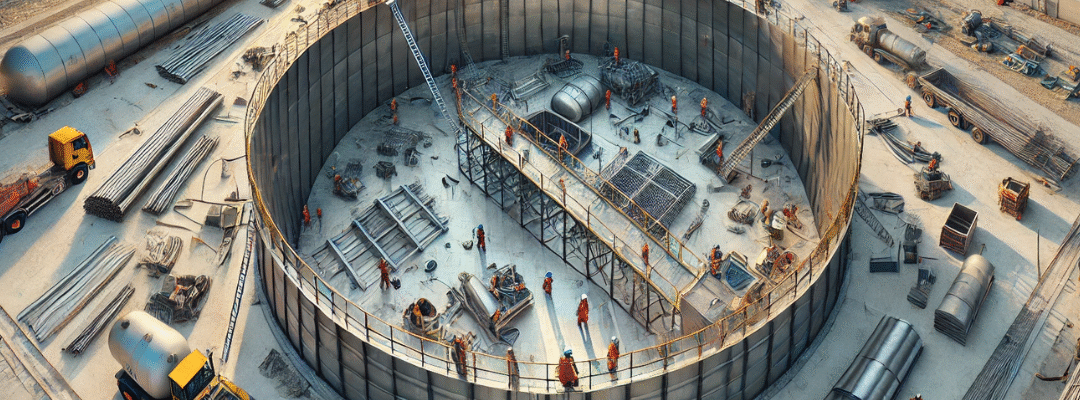
Before construction begins, the site must be organized to accommodate operational equipment, layout space, utility systems, and safety zones. A comprehensive Work Execution Plan and engineering design document form the backbone of the construction process.
1.Foundation and Base Preparation
The construction process starts with the preparation of the basement and foundation, which must be level and stable to support the tank’s weight and operational load.
Key Considerations:
Soil testing and ground stabilization
Concrete or pile foundation (depending on the tank type and ground conditions)
Installation of anchor bolts and base rings
2.Work Execution Plan Essentials
Prepared by the engineering team, the Work Execution Plan ensures that welding, safety, and environmental regulations are followed during assembly.
It includes:
Safety protocols and labor protection standards
Procedures for welding and assembly
Environmental compliance guidelines
Quality control checkpoints and inspection timelines
Sequence for pressure and leak testing
Welding Standards Include:
Selection of welding materials
Joint edge preparation and heating procedures
Approved welding methods (e.g., arc welding, submerged arc, flux-cored wire)
List of required machinery and equipment
3.Welding & Assembly Techniques
Welding Process:
Welding is performed using methods like automatic submerged arc welding, manual arc welding, and mechanized welding with flux-cored wire. The method depends on site conditions, with ambient temperature and humidity influencing seam quality.
4.Bottom Plate Assembly
The tank bottom is composed of:
A segmental ring (connected to the first shell ring)
A central section (welded separately)
Steps:
Weld the segmental ring with overlap seams using a back-step technique.
Add the central bottom plate and connect both parts via welded joints.
Use bitumen and primer coatings to prevent corrosion and enhance longevity.
5.Shell Erection
The tank shell is built using two approaches:
Plate-by-Plate Method:
Install the first ring and weld it entirely.
Proceed with upper rings in ascending order.
Temporary stiffening rings help the structure resist wind stress.
Coiled Shell Method:
Lift the coiled shell to a vertical position.
Uncoil and align the ends to form a butt-joint.
Perform final welding and fixation.
6.Roof and Pontoon Installation
Fixed Roofs:
Installed from above if spherical or conical.
Assembled from inside the tank if built from decking and frame components.
Floating Roofs (Pontoons):
Placed at the tank bottom and raised during the water test.
Designed to be leak-proof to prevent vapor escape.
Precautions:
Support the roof using temporary braces to avoid deformation.
Monitor assembly loads carefully.
7.Manway Plates & Fitting Pipes
Manway plates must be at least 100 mm from butt joints.
Radiographic testing ensures weld integrity around covered sections.
8.Quality Control & Inspection
The quality assurance team verifies:
Welding joint precision
Equipment alignment
Compliance with the Work Execution Plan
Proper installation of load-bearing components
Documentation:
Test certificates and inspection reports are attached to the final construction documents.
9.Final Hydraulic Testing
The entire tank is filled with water to check:
Structural durability
Leak resistance at seams and joints
Note: For tanks with floating roofs, this test occurs before installing the rim seals.
Conclusion
Properly constructing a storage tank requires technical precision, regulatory adherence, and high safety standards. Each phase—from groundwork to testing—must be executed with care to ensure the tank’s long-term performance.