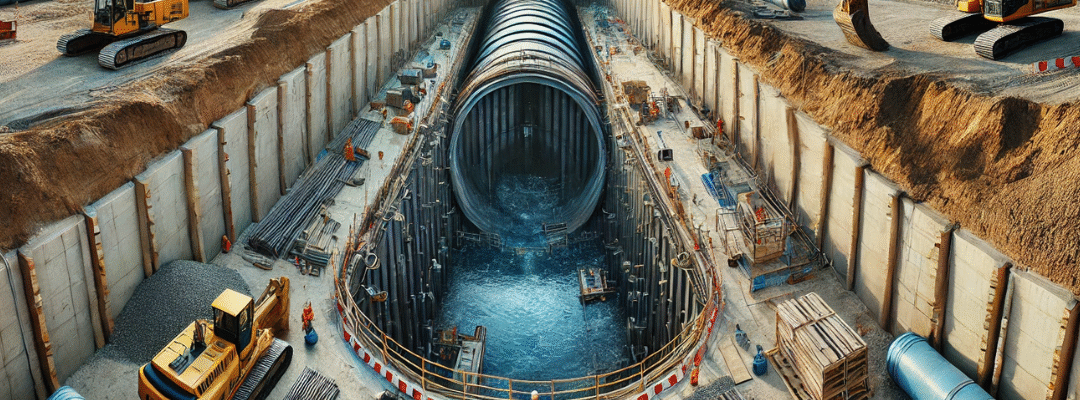
Underground water tanks offer an efficient way to store water while preserving surface space and providing added protection against threats such as bushfires. Though building an underground tank is a detailed and technical process, proper planning and expert execution can simplify the installation and ensure long-term functionality.
1.Planning Stage: Key Considerations Before Construction
Before digging begins, it’s essential to conduct thorough planning to avoid complications during construction. Address the following questions in the planning phase:
Where will the tank be located?
Is the ground safe and stable for excavation?
What is the purpose of the tank (e.g., fire protection, irrigation, drinking water)?
Are the necessary permissions and permits in place?
Is there enough surrounding space for excavation machinery and equipment?
Site Selection
Choosing the right location isn’t as simple as digging a hole. The ground must be cleared of underground utilities like water mains, sewer lines, and electrical cables. Always conduct a utility scan and obtain permission from local authorities or councils before proceeding.
2.Obtaining Permits and Regulatory Compliance
Many municipalities and local councils require permits for underground construction projects. You’ll need to:
- Submit a site plan and tank specifications.
- Ensure soil and drainage compliance.
- Wait for approval before beginning any excavation or installation.
- Tip: Starting construction without permits can result in costly delays or legal penalties.
3.Choosing the Right Tank Size
Tank size varies depending on its intended use:
Small tanks (3,000–5,000 liters): Ideal for domestic rainwater harvesting or garden use. Easier and cheaper to install.
Large tanks (10,000+ liters): Suitable for commercial, firefighting, or long-term water storage. More cost-efficient over time due to reduced need for replacement.
Remember: Larger tanks require more excavation, stronger structural support, and often more advanced pumping systems.
4.Allowing Space for Machinery and Installation
Ensure a minimum 2.5-meter clearance around the perimeter of the tank location. This space allows:
- Safe movement of excavation equipment
- Crane access (if installing precast tanks)
- Storage of materials like sand and backfill
5.Professional Installation: Avoiding Technical Issues
While it may be tempting to manage the build independently, professional guidance is highly recommended, especially for below-ground structures.
Involve Specialists:
Geotechnical Engineer: Assesses soil type and site suitability.
Structural Engineer: Designs tank reinforcements and concrete specifications.
Licensed Contractor: Ensures proper installation and sealing.
Key Materials & Equipment:
- Crane rental (for lowering precast tanks)
- Pump system purchase (for water circulation and access)
- Washed sand (as a stable base and bedding layer)
6.Post-Installation Guideline:
Once installed, allow the tank to settle for several days before connecting plumbing systems or placing load-bearing structures above.
Tips for Post-Installation:
- Monitor for leaks or settling issues.
- Avoid immediate backfilling with heavy soil until the tank is full.
- Perform an initial inspection with your contractor after the tank is filled.
Can You Build Over the Tank?
Yes—lightweight landscaping, decks, or paving can often be installed above underground tanks, once the structure has stabilized and is rated for overhead loads.
Installing an underground water tank is a smart investment for sustainable water storage, bushfire preparedness, and efficient land use. With proper site planning, professional input, and ongoing maintenance, these tanks can serve reliably for decades.

